How to create your WApopup account and set up with WhatsApp Clopud API?
In this article, we're going to show you how to create your account on WApopup, set up your phone number with WhatsApp Cloud API, and integrate that with WApopup.
By following the instructions until the end of this article, you'll have your account ready to start sending WhatsApp Messages.
Must-have Requirements
Below are four essential requirements by WhatsApp to set up WhatsApp Cloud API. Please ensure you have all of the following before proceeding:
-
Phone Number: This is the number you'll use to set up the APIs, and it will be displayed to the receivers of your WhatsApp messages. Note that if you're already using a phone number on the WhatsApp mobile app, you won't be able to use that number with the API. You'll either have to disconnect the number from your phone app or get a new phone number for integration with WhatsApp Cloud API. WhatsApp does not allow using the same phone number for both the WhatsApp phone app and WhatsApp Cloud API.
-
Registered Business: You must have a registered business and some form of government-issued business registration proof, such as an incorporation document. For Indian businesses, having a GST certificate is mandatory. If you do not have legal business documents, you won't be able to use WhatsApp Cloud APIs.
-
Website: You must also have a website. WhatsApp requires you to have a live website for your business with a privacy policy page for your users. You cannot use any third-party websites owned by other people or businesses. The website must be owned by you and should be for your business.
-
Payment Method: You'll need a payment method such as a credit or debit card. This will be added to the WhatsApp Manager portal for API billing.
Once you have all of these in place, you're ready to get started with the setup.
Step-by-Step Instructions to Create & Setup your WApopup Account:
Follow the instructions below to create your WApopup account and set up WhatsApp Cloud API. Let's get started
- Register to WApopup.com
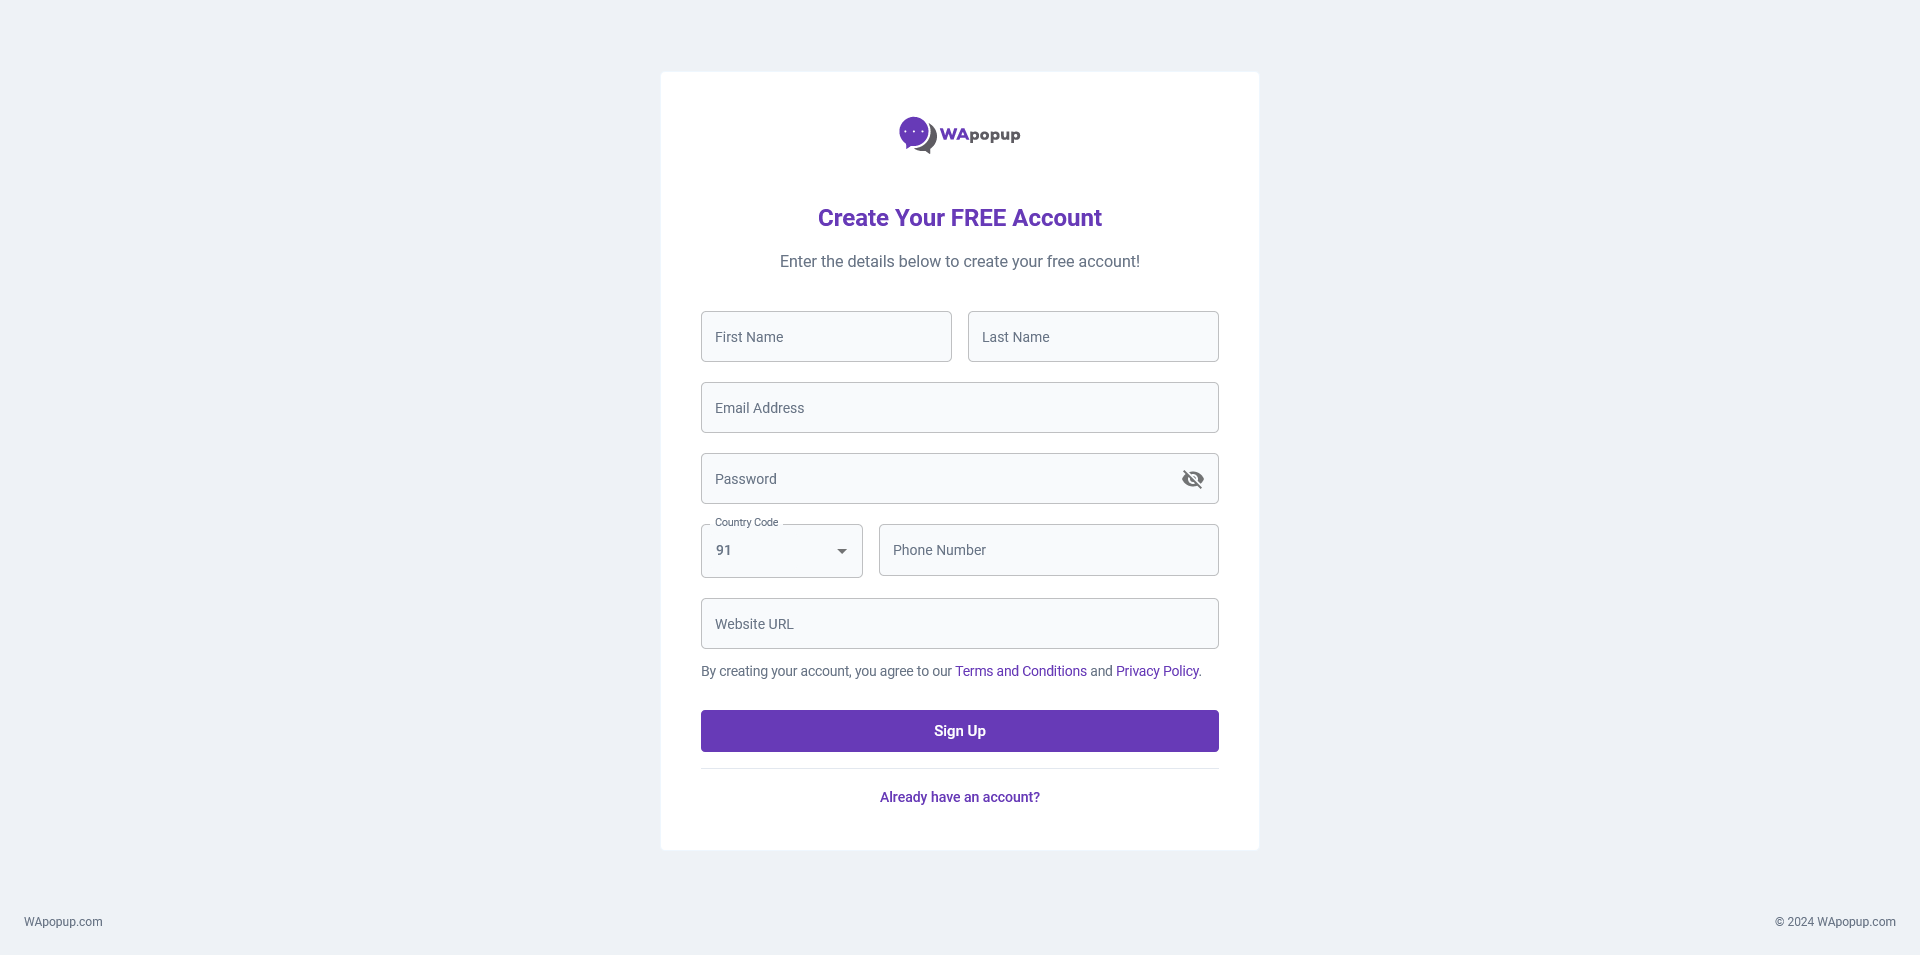
- On this page, please complete all the requested details. In the Phone Number field, feel free to input any phone number (this will only be utilized for the registration process and not for API purposes) with the country code included. Enter your business website URL with either http:// or https://. Please note that if you don't have a website for your business, you won't be able to utilize the APIs.
- After completing all the details, click on the 'Sign up' button
- On the following page, you'll be prompted to perform email verification. Please navigate to your email inbox and click on the verification link.

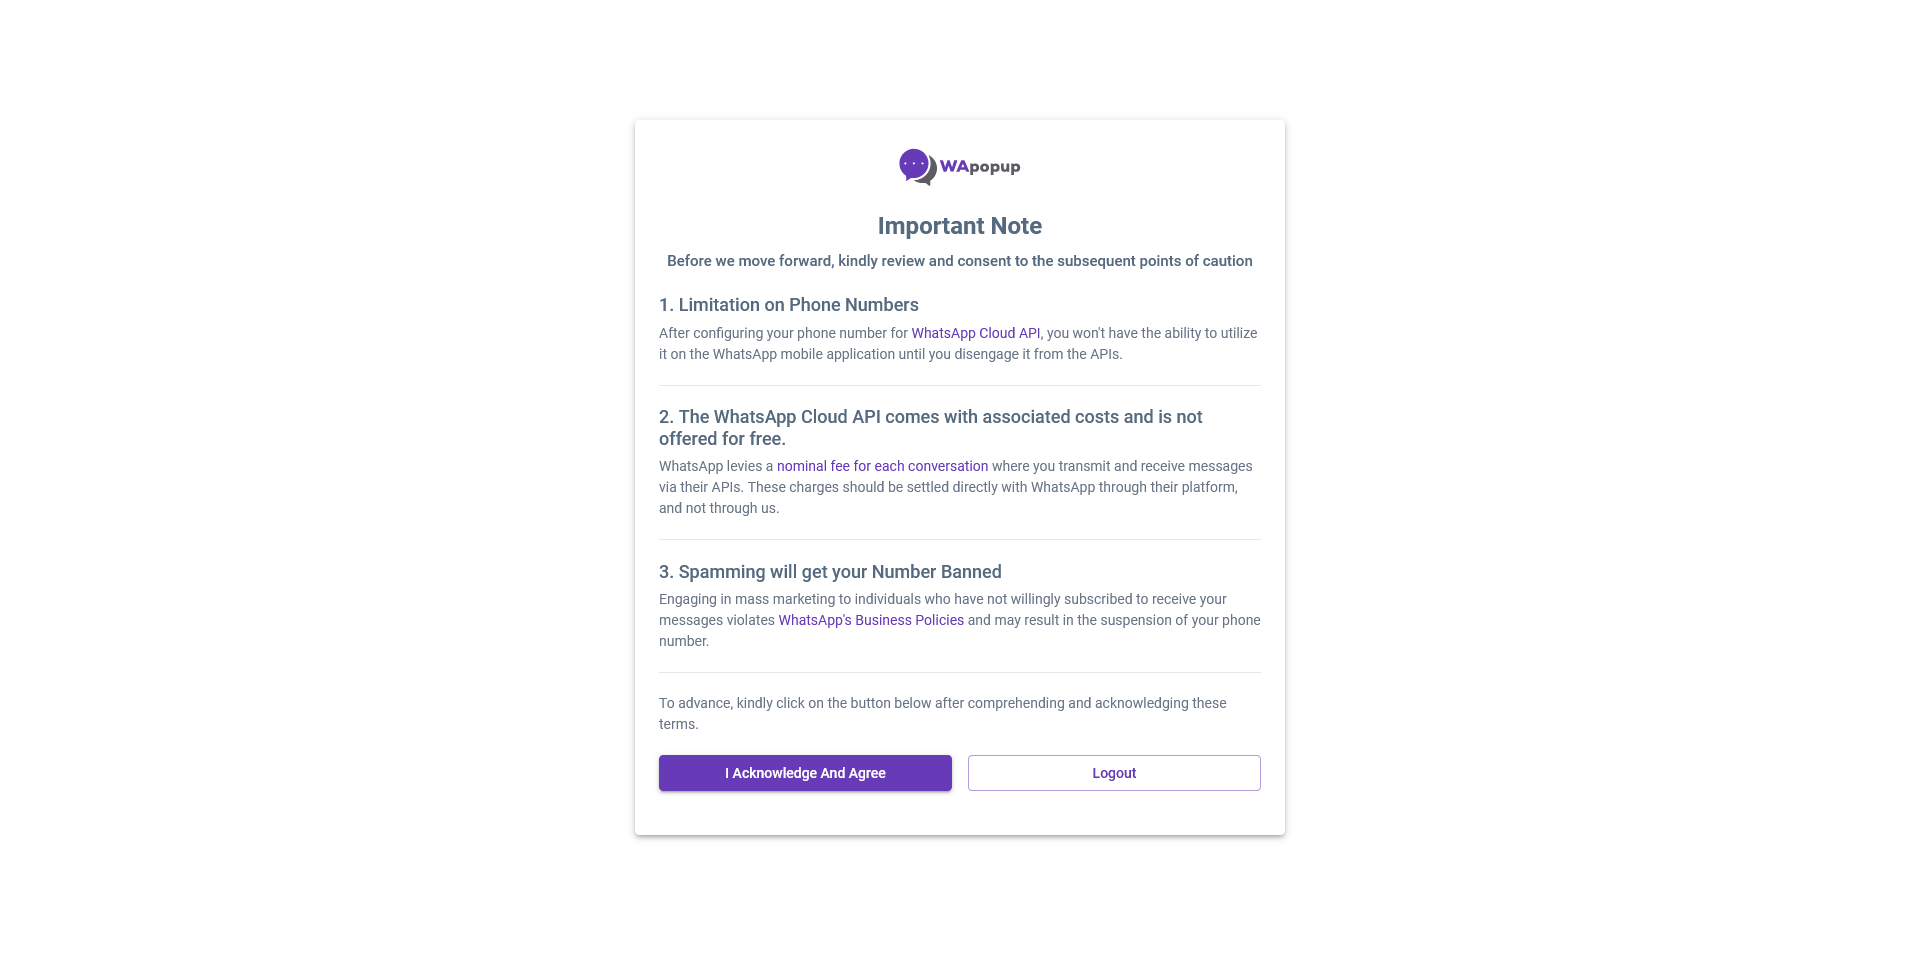
- After verification, you'll be directed to the Disclaimer page. Kindly review all disclaimer points carefully before clicking on 'I acknowledge and agree'.
- With this, you have successfully created your WApopup account. The next step is to add your phone number to the WhatsApp APIs.
Setup using WhatsApp Cloud API Credentials:
For this you will have your Phone Number ID, WhatsApp Business Account ID and Permanent Access Token from Meta Developers portal. This option is great if you already have these details generated earlier or if you want to use the APIs to send messages from outside of WApopup, like for integration with your own website / app.
In this screen you need to add your Phone Number ID, WhatsApp Business Account ID, and Permanent Access Token to specified field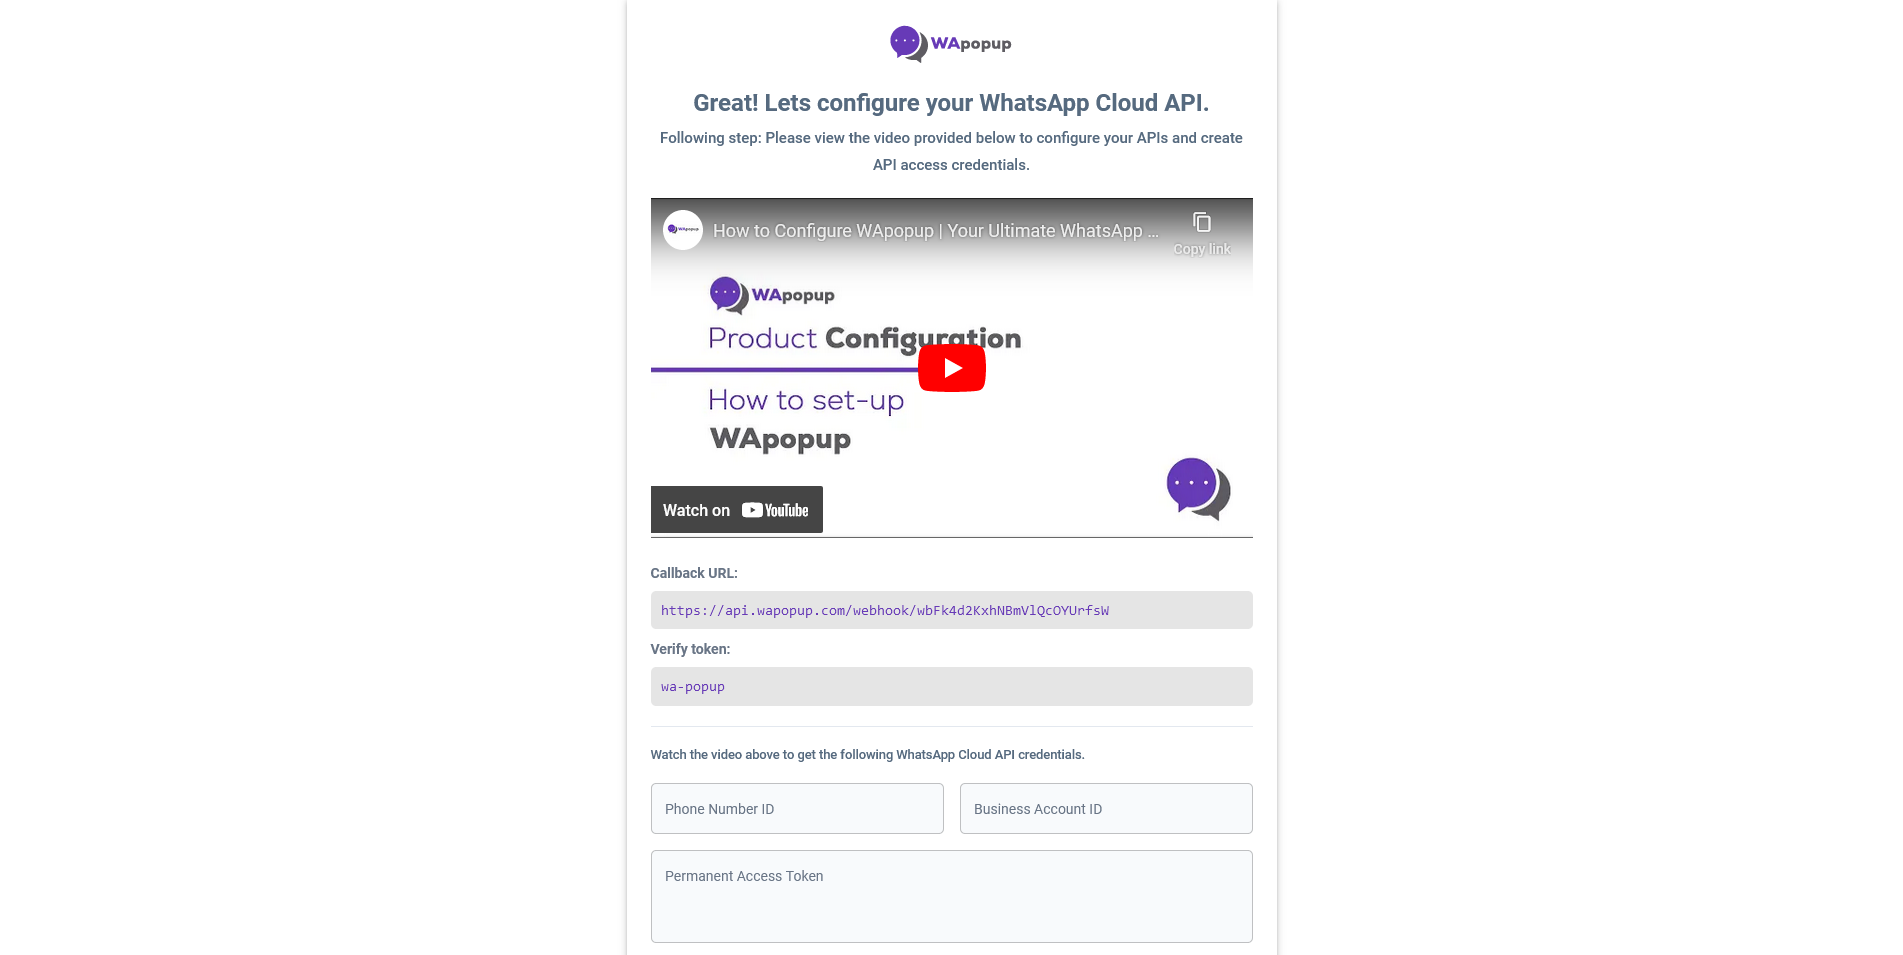
Follow the instructions to add your phone number on the WhatsApp portal and generate your API credentials. We've also created an article to guide you through the setup steps, which you can check out here:
Create your First Messaging:
Once you've added your phone number, you'll be redirected to your WApopup Dashboard. From there, you can follow these steps to send your first message:
- Create a message template - Generate your initial message template and submit it for approval to WhatsApp.
- Add/import your contacts - Add a contact manually, bulk import contacts using CSV import, or integrate via API.
- Send your first notification - Create a notification with the Marketing type, select a Contact List, and send the notification to the contacts in that list.
Nice! We have just finished setting up the WApopup account, added your phone number, and sent our first message!
Next Step to Verify Your Business!
Now that your setup is complete, you can start sending up to 250 messages per day. You can increase this limit to 1,000 messages per day and higher by verifying your business. Click here to read instructions on how to do so.